
12 Amazing Aura Nails: The Dreamy, Glowing Manicure Everyone’s Obsessed With
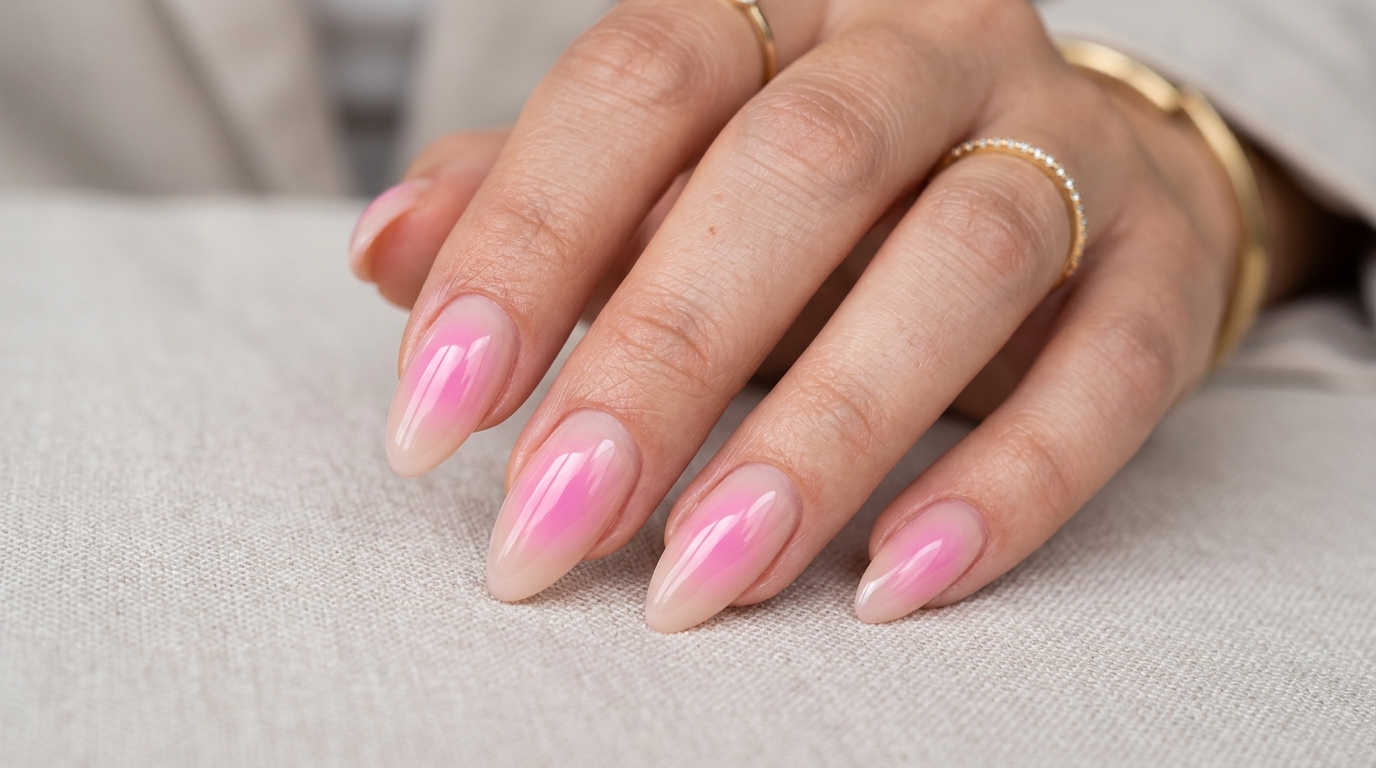
Aura nails are the soft, airbrushed manicure that’s been quietly taking over feeds — a hazy, glowing halo of colour that looks like your energy was painted straight onto your fingertips. Inspired by aura photography and those blurry “energy field” readings, the look is dreamy, endlessly customisable, and (best of all) genuinely easy to do at home.
This guide covers what aura nails actually are, how they differ from ombré, exactly how to DIY the look with a sponge or even eyeshadow, plus the best colours, designs, and shapes to try.
12 Aura Nail Design Ideas to Try
What Are Aura Nails?
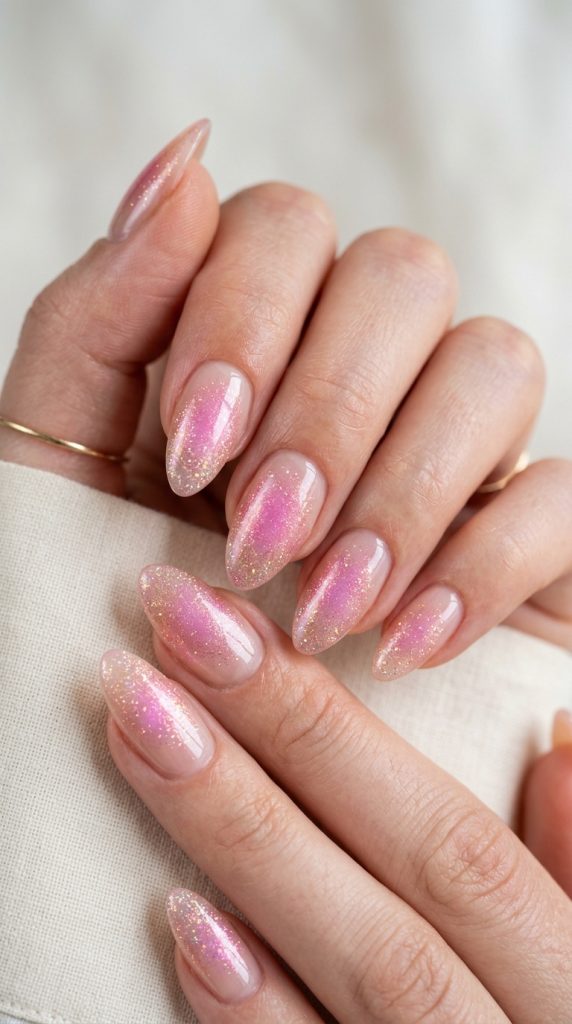
Aura nails feature a soft, blurred gradient of colour that radiates from the center of the nail outward, fading into a sheer base for a glowing “halo” effect. Think of it like a sunset or the northern lights on your nails — colours melting dreamily into one another with no hard edges.
Usually made with one to three shades, the look is intentionally hazy and abstract rather than crisp and precise, which is exactly what gives it that otherworldly, “how did they do that?” glow. And here’s the best part: because the whole point is a soft, imperfect blur, even beginner blending looks intentional.
Aura Nails vs Ombré Nails
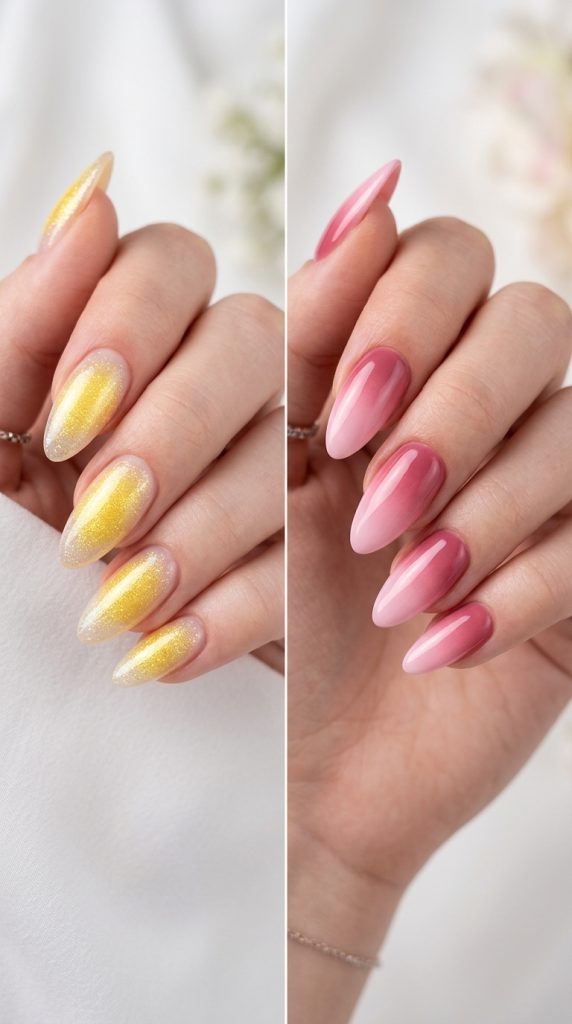
People often confuse the two, but they’re different techniques. A classic ombré is a linear fade — one colour gradually blending into another from top to bottom (or side to side). Aura nails are more of an ombré spot — a concentrated orb of colour glowing from the center of the nail and radiating outward, rather than a straight-line gradient. In short: ombré fades in a line, while an aura glows from the middle like a halo.
Classic Blush Aura
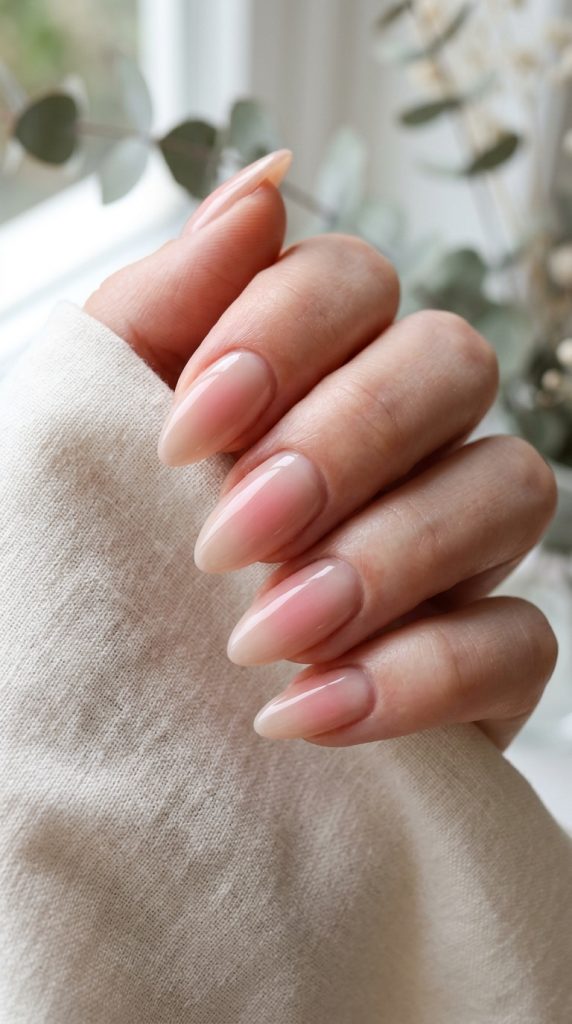
A soft pink glow in the center of a sheer or nude nail — basically blush for your fingertips. Romantic, wearable, and effortlessly pretty. The everyday favourite.
Bridal Nude Aura
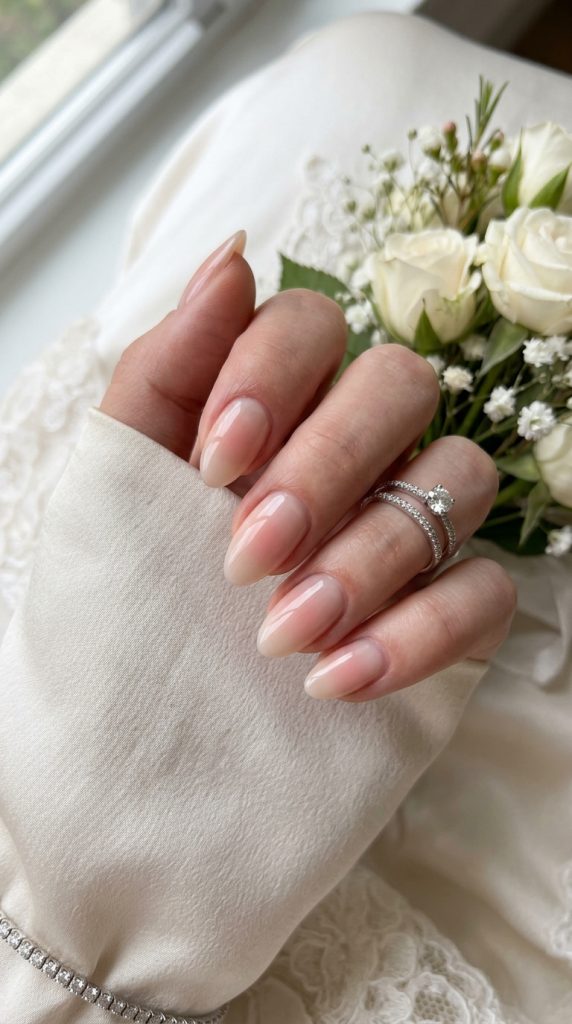
A sheer nude base with a barely-there rose center, so the colour looks like it’s coming from underneath the nail. Understated “quiet luxury” that goes with everything. Perfect for weddings.
Sunset Aura
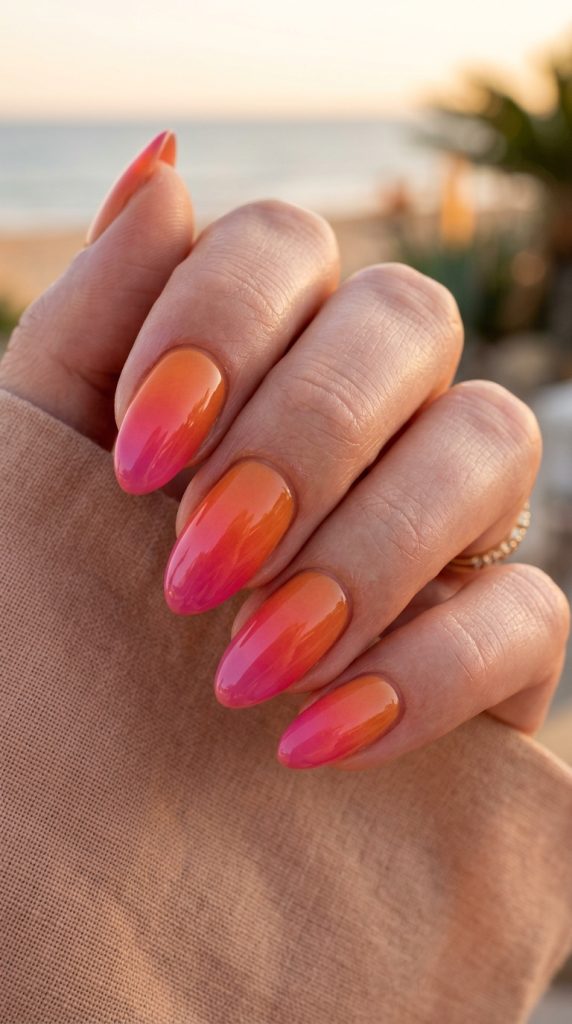
Warm orange melting into soft pink for a glowing, sorbet-sweet, summery finish. Pure golden-hour energy.
Celestial Aura
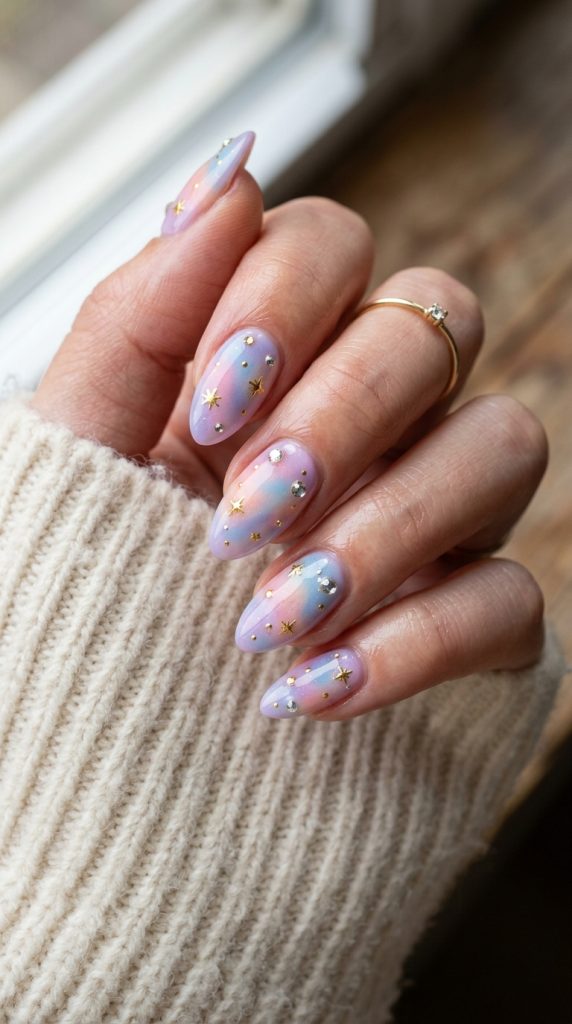
Any aura shade topped with tiny gold stars or scattered rhinestones for a cosmic, galaxy-inspired look. Playful and magical.
Aura Chrome
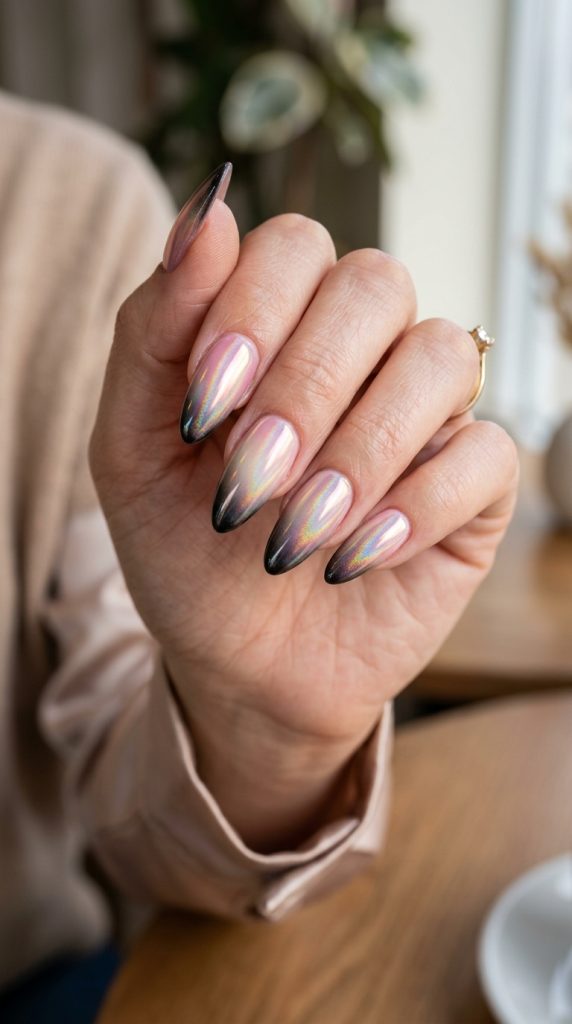
Chrome powder buffed over your aura before the top coat creates an insane holographic glow that shifts in the light. Looks salon-level, costs a few pounds to DIY.
Rainbow / Skittle Aura
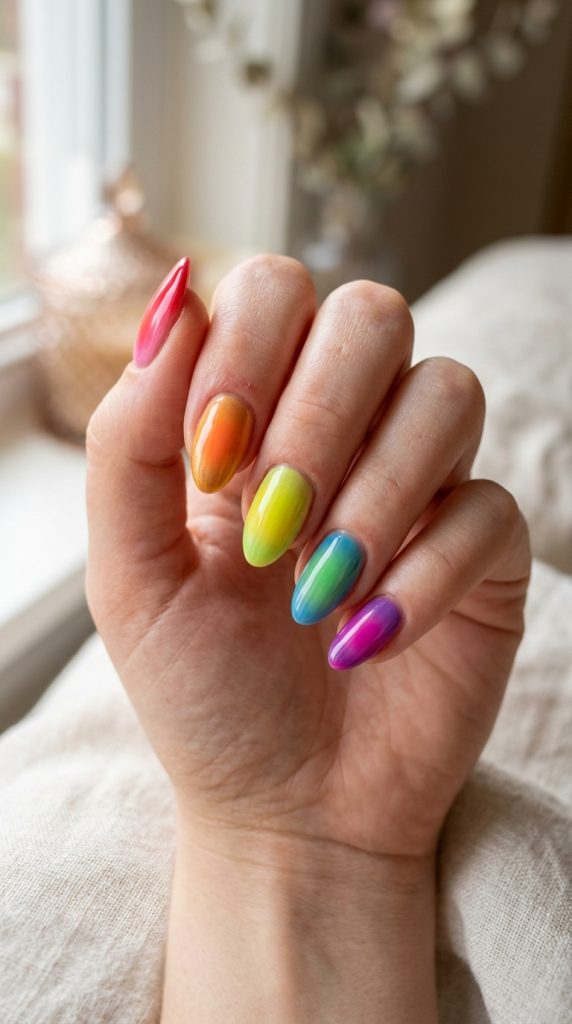
A different aura colour on each nail for a fun, festival-ready, multi-colour set. Great when you’re feeling extra.
Two-Tone Contrast Aura
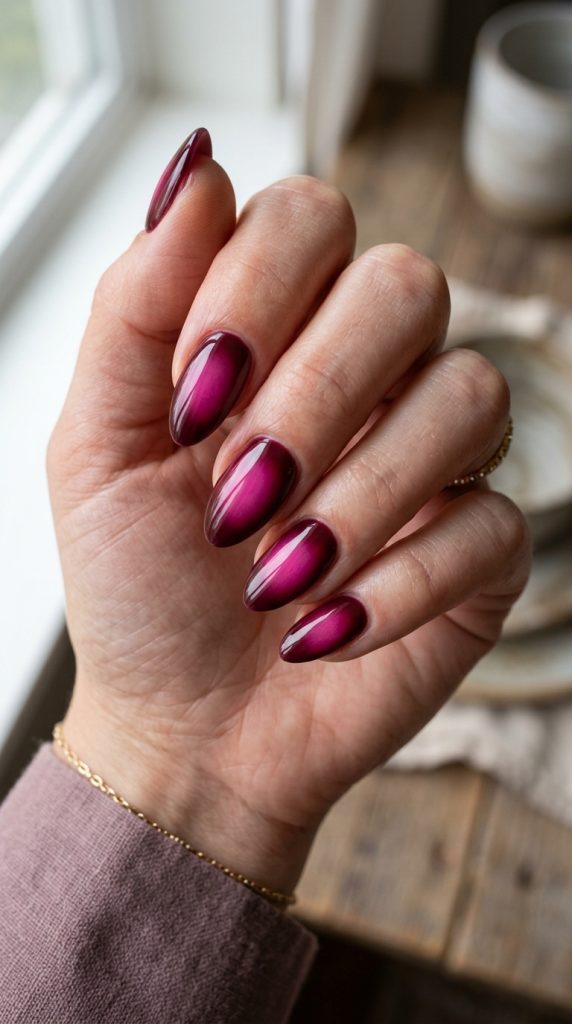
A deep base with a bright center — think burgundy with hot pink, or black with electric purple — for maximum visual impact. Bold and striking.
Tonal Aura Nails
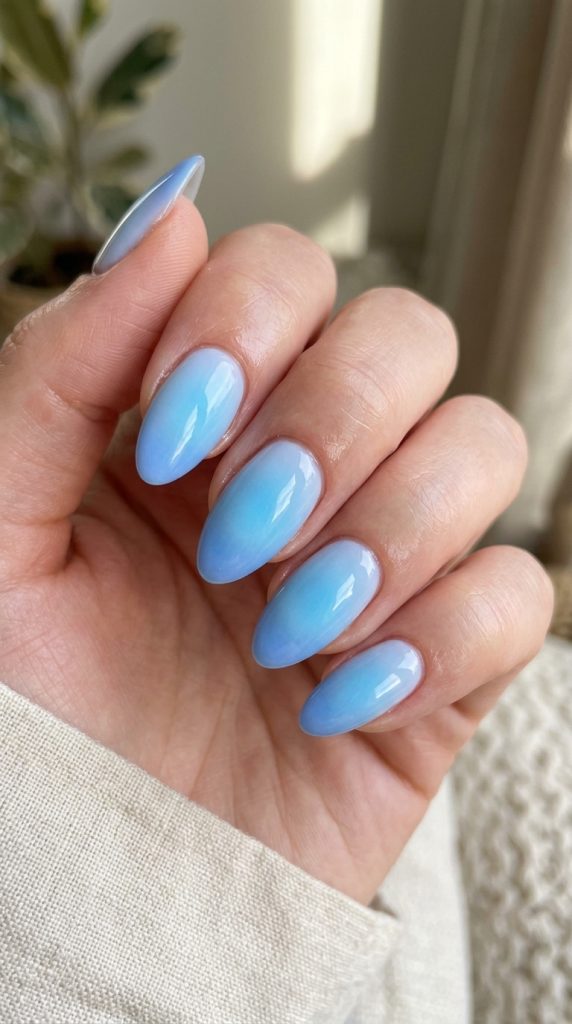
Different shades of the same colour family (blues, pinks, or earth tones) blended for a sophisticated, elevated finish. The chic, grown-up version.
Aura French Tips
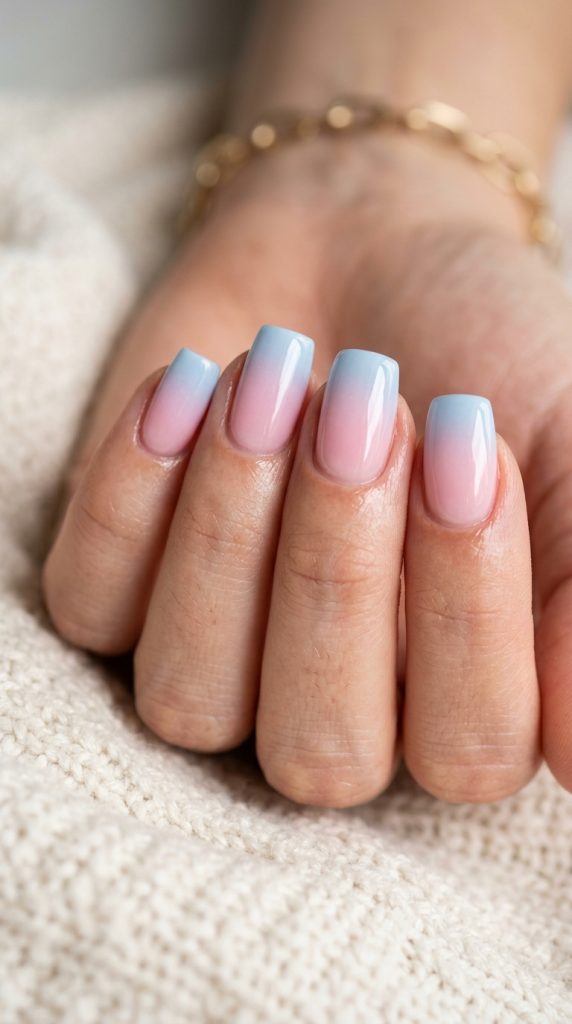
The soft aura glow paired with coloured tips — mix and match the aura and tip shades, and add a celestial sparkle to tie it together. A modern twist on the French.
Double Aura
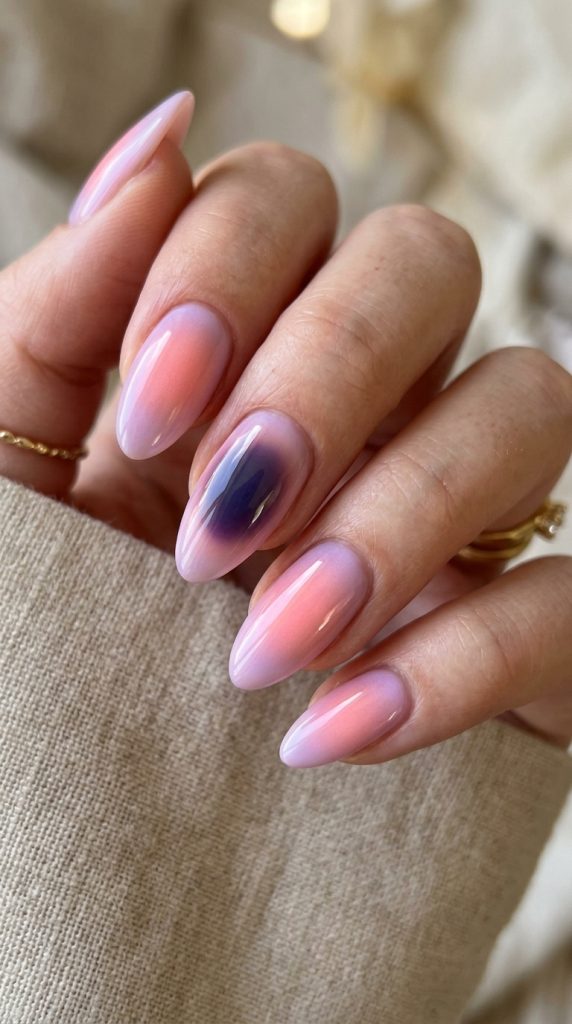
An aura within an aura — a second, smaller, darker halo inside the first — for a glowing, hypnotic, dimensional effect. Surprisingly easy, seriously eye-catching.
How to Do Aura Nails at Home: Step by Step
You don’t need an expensive airbrush machine — a makeup sponge (or even eyeshadow) does the job beautifully.
- Prep your nails. File and shape them, gently push back your cuticles, lightly buff the surface, and apply a base coat. Use a milky or sheer base so the colour looks like it’s glowing from underneath. A patchy base makes for a patchy aura, so don’t rush this step.
- Pick your colours. Choose one to three shades, but stick to a maximum of two per nail — three tends to look muddy. Contrasting colours (a deep base with a bright center) or tonal shades of one colour both look gorgeous.
- Create the aura (sponge method). Put a small dot of polish or gel on a makeup sponge, then dab it onto the center of the nail in a gentle circular motion — don’t press hard. Build up gradually with light layers, keeping the edges soft and sheer, and use a fresh section of sponge for each nail so the colours stay clean.
- Or try the eyeshadow method. Tap an eyeshadow brush into a matching eyeshadow, pat it onto the center of the nail, diffuse the edges for that soft-focus look, then gently blow off the excess.
- Add depth. For a more dimensional glow, add a smaller, slightly darker aura inside the first one.
- Seal it. Finish with a glossy top coat to lock everything in, add shine, and blend the haze even more.
Aura Nail Colours & Their “Meanings”
Part of the fun is that aura colours are said to represent different energies — so you can match your mani to your mood. Here’s a light-hearted guide:
- Pink / blush: soft, romantic, and playful — the classic, wear-with-everything choice
- Blue: calming and clarifying, linked to communication and creativity
- Green: fresh and grounding, associated with growth and abundance
- Purple / violet: dreamy, futuristic, and a little spiritual
- Orange: energetic and creative, like a burst of sunshine
- Red: bold, passionate, and fiery
- Yellow: happy, bright, and cheerful
Best Nail Shapes for Aura Nails
Aura nails work on any shape or length, but almond and oval are the crowd favourites — their rounded edges complement the soft gradient and give the colour room to “bloom.” Coffin shapes are great for bolder, two-tone auras, while round or short nails work perfectly too; just keep the colour placement a little tighter to the center. If you’re trying the look for the first time, a medium-length almond is the most forgiving shape.
How Long They Last & How to Make Them Last?
Aura gel nails typically last two to three weeks with a good base and proper application, and builder-gel versions can stretch up to four weeks (regular polish will last less). To get the most wear, avoid soaking your hands in water for long periods and apply cuticle oil daily to keep everything looking fresh.
Tips for the Perfect Aura
- Stick to two colours max per nail — three gets muddy fast.
- Build in light layers rather than one heavy application for a smoother, more professional blend.
- Use a fresh section of sponge for each nail so the colours don’t mix and dull.
- Don’t stress about perfection — the blur is the aesthetic, so soft and imperfect still looks intentional.
Frequently Asked Questions
Conclusion
Aura nails are one of those rare trends that look high-end but are genuinely easy to pull off — and because they’re endlessly customisable, they never really go out of style. Whether you keep it soft with a blush glow, go cosmic with chrome and stars, or match your palette to your mood, the dreamy gradient does all the talking. Grab a sponge, pick your colours, and let your fingertips glow. You really can’t mess this one up.


